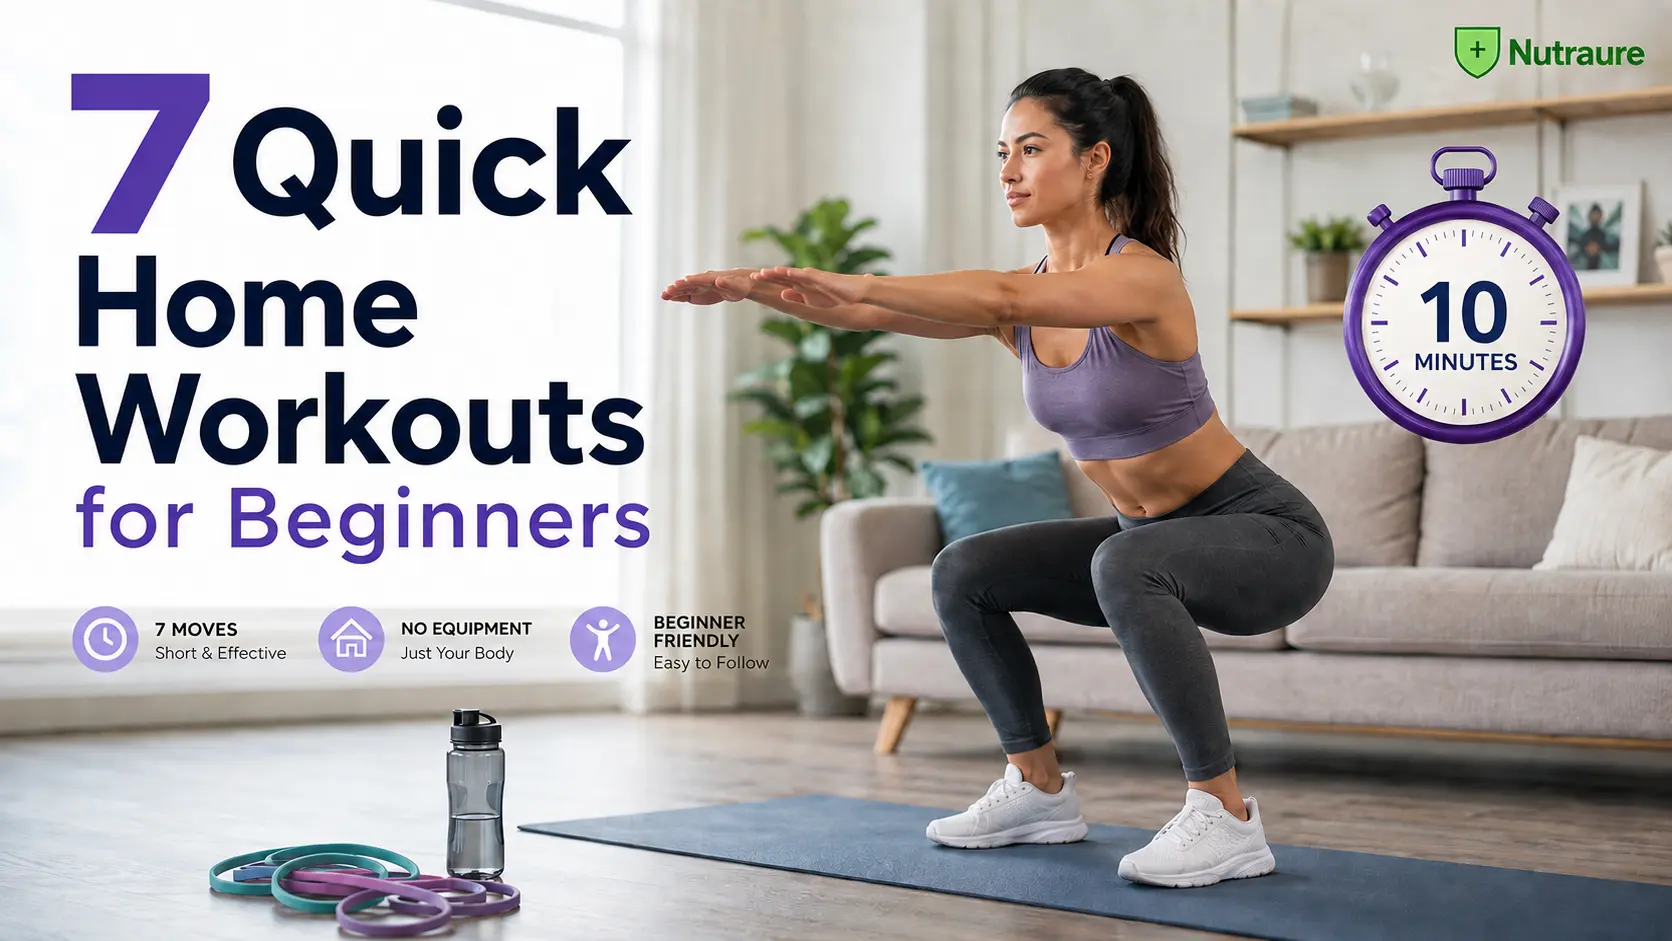
Starting a workout can feel harder than the workout itself.
Maybe you haven’t exercised in a while. Maybe you’re not ready for a gym. Or perhaps every beginner workout you find online somehow includes burpees, jumping lunges, or instructions that assume you already know what you’re doing.
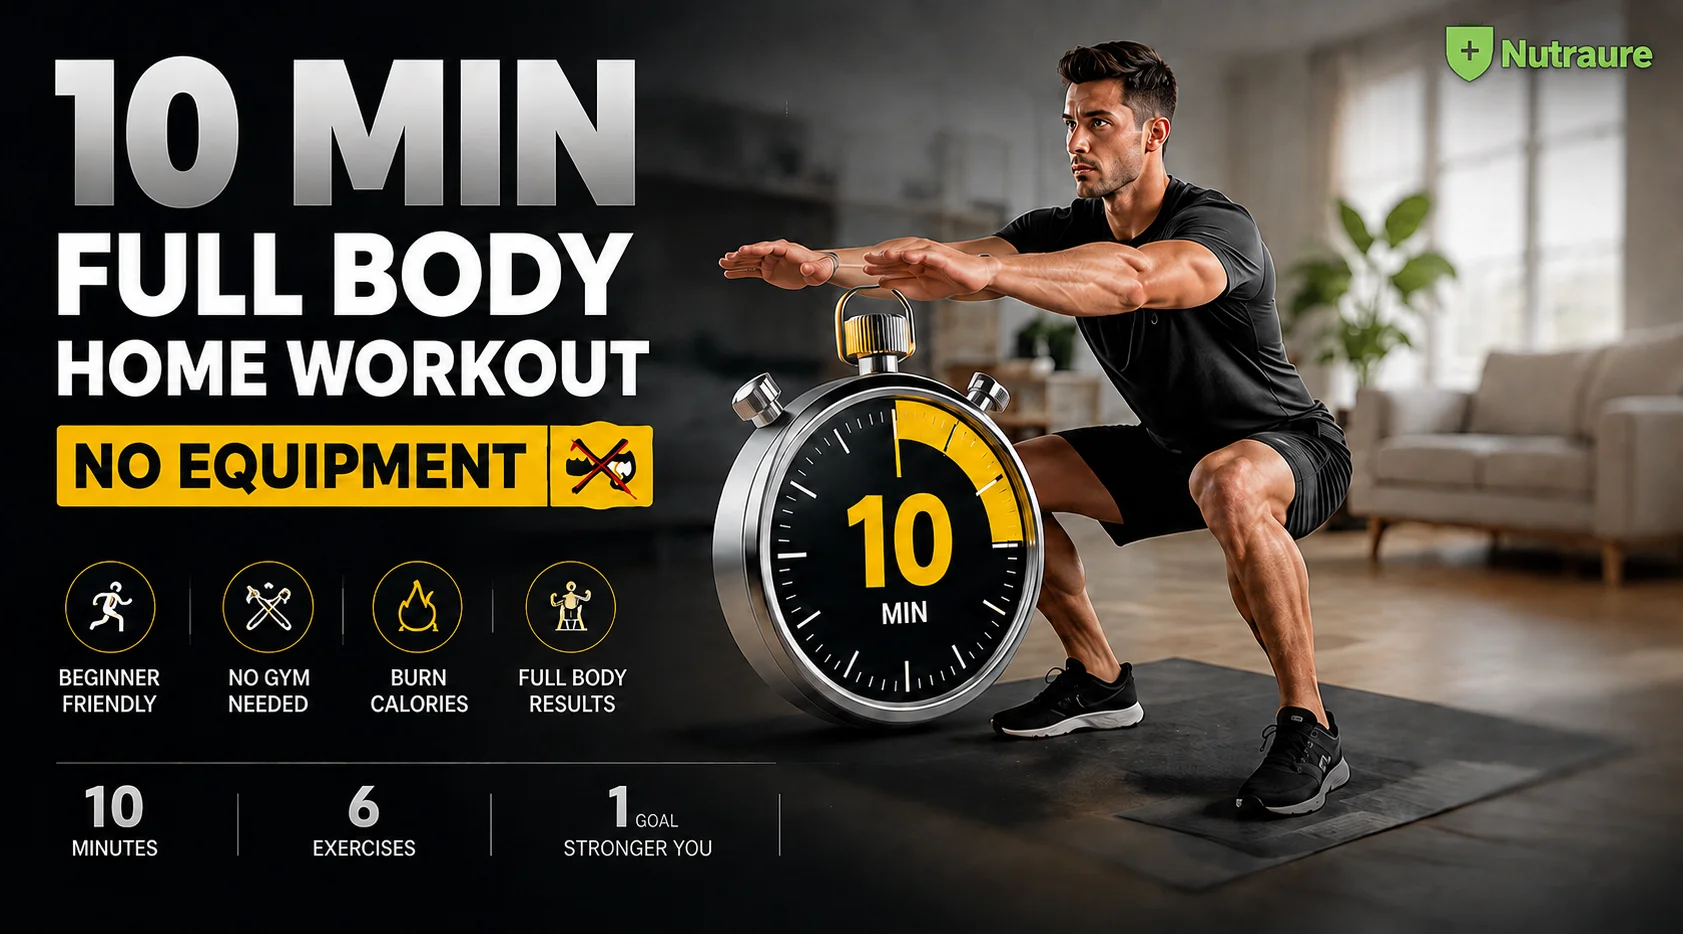
This 10 minute home workout for beginners takes a different approach.
You don’t need dumbbells, machines, or much space. You won’t be asked to jump around the room. The routine uses seven straightforward bodyweight movements, and every exercise has an easier option if you need one.
I’ve personally tried this routine myself. I’m not going to invent dramatic results or claim that ten minutes changed everything overnight. The purpose here is much simpler: to give you a realistic way to start moving and gradually improve your overall fitness.
Your job isn’t to make the workout perfect.
Your job is to start.
Your 10-Minute Beginner Workout at a Glance
Here’s the routine before we break down each movement.
| Part | Time |
|---|---|
| Gentle movement to get started | 90 seconds |
| 7 beginner exercises | 7 minutes |
| Easy cool-down | 90 seconds |
| Total | 10 minutes |
For the seven-exercise circuit, use:
45 seconds of movement + 15 seconds of rest or change position.
Quick workout facts
- Fitness level: Beginner
- Equipment: None required
- Optional support: Sturdy chair and wall
- Location: Home
- Jumping: Not required
- Style: Low-impact bodyweight circuit
- Main goal: Build movement confidence and support overall fitness
Don’t worry about squeezing as many repetitions as possible into each 45-second interval. Slow, controlled repetitions are a better place to begin than racing against the clock.

Can a 10-Minute Home Workout Really Be Effective?
Ten minutes is not a magic number, but it isn’t meaningless either.
For a beginner, one of the biggest challenges is often making exercise something you can actually repeat. A short home workout removes several common barriers: traveling to a gym, finding a large block of free time, learning complicated equipment, or committing to a long session before you’ve built the habit.
The CDC notes that some physical activity is better than none and that weekly activity can be accumulated rather than completed in one long session. Current CDC physical activity guidelines recommend that adults aim for at least 150 minutes of moderate-intensity aerobic activity per week, along with muscle-strengthening activities on at least two days.
So, is ten minutes enough?
It’s enough to start.
A ten-minute routine offers a manageable way to practice movements, challenge several muscle groups, and make physical activity part of your day. But one ten-minute workout should not be presented as a complete replacement for the broader activity recommendations above.
Think of this routine as your entry point, not your finish line.
What 10 minutes can realistically do
A short routine can help you:
- Get more physical activity into a busy day;
- practice basic bodyweight movements;
- Gradually improve your exercise tolerance;
- Build confidence with movements such as squats and push-ups;
- Establish a repeatable fitness habit.
Regular physical activity is associated with benefits for health, function, and sleep, but these benefits come from an ongoing pattern of activity rather than from a single workout.
What it probably won’t do
Don’t expect one short daily routine to produce an instant body transformation.
Be skeptical of claims such as “melt fat in 10 minutes,” “get ripped in one week,” or “burn a guaranteed number of calories.” Your response to exercise depends on your current fitness level, intensity, nutrition, sleep, total activity, and many other individual factors.
A better goal for a beginner is:
Move today. Learn the exercises. Repeat consistently. Progress when you’re ready.
Before You Start: Make Your First Workout Feel Easy
You don’t need to create the perfect workout environment.
Clear enough floor space to move comfortably; keep a sturdy chair or wall nearby for extra support; and wear clothing that lets you move freely.
If you prefer exercising in supportive shoes, wear them. If you’re comfortable and safe exercising barefoot in your space, that’s a personal choice.
A note about the warm-up
Because this article is built around a strict ten-minute format, the routine begins with 90 seconds of very gentle movement.
However, that should not be interpreted as a universal recommendation that 90 seconds is always sufficient for a warm-up.
The American Heart Association’s warm-up guidance generally recommends warming up for five to ten minutes, while the NHS also provides beginner warm-up routines lasting around six minutes.
If you’re very sedentary, feel stiff, are returning after a long break, or don’t feel ready after 90 seconds, extend the warm-up. Your workout can take longer than ten minutes.
A timer should never be more important than how your body feels.
Use the talk test instead of chasing intensity
You don’t need a heart-rate monitor for this beginner routine.
One simple way to judge moderate aerobic effort is the “talk test.” According to the CDC, at moderate intensity, you should generally be able to talk but not comfortably sing.
For your first few workouts, it’s perfectly reasonable to stay below that level while you learn the movements.
The Zero-Fear rule
Remember this:
Slow first. Smooth second. Faster later.
You can:
- use a smaller range of motion;
- pause during an interval;
- Hold a chair for balance;
- perform fewer repetitions;
- take longer than 15 seconds of rest;
- Replace it with a movement that doesn’t feel right.
An easier modification isn’t a failed repetition.
It’s still exercise.
When should you stop?
Exercise can feel challenging, but sharp or unusual pain isn’t something you should push through.
Mayo Clinic advises stopping a strength exercise if it causes pain and emphasizes learning proper form, especially when you’re new to strength training.
If you experience chest pain, severe shortness of breath, faintness, significant dizziness, or another concerning symptom, stop exercising and seek appropriate medical advice.
If you have an injury, medical condition, are pregnant, or have been advised to limit physical activity, ask a qualified healthcare professional whether this routine is appropriate for you.
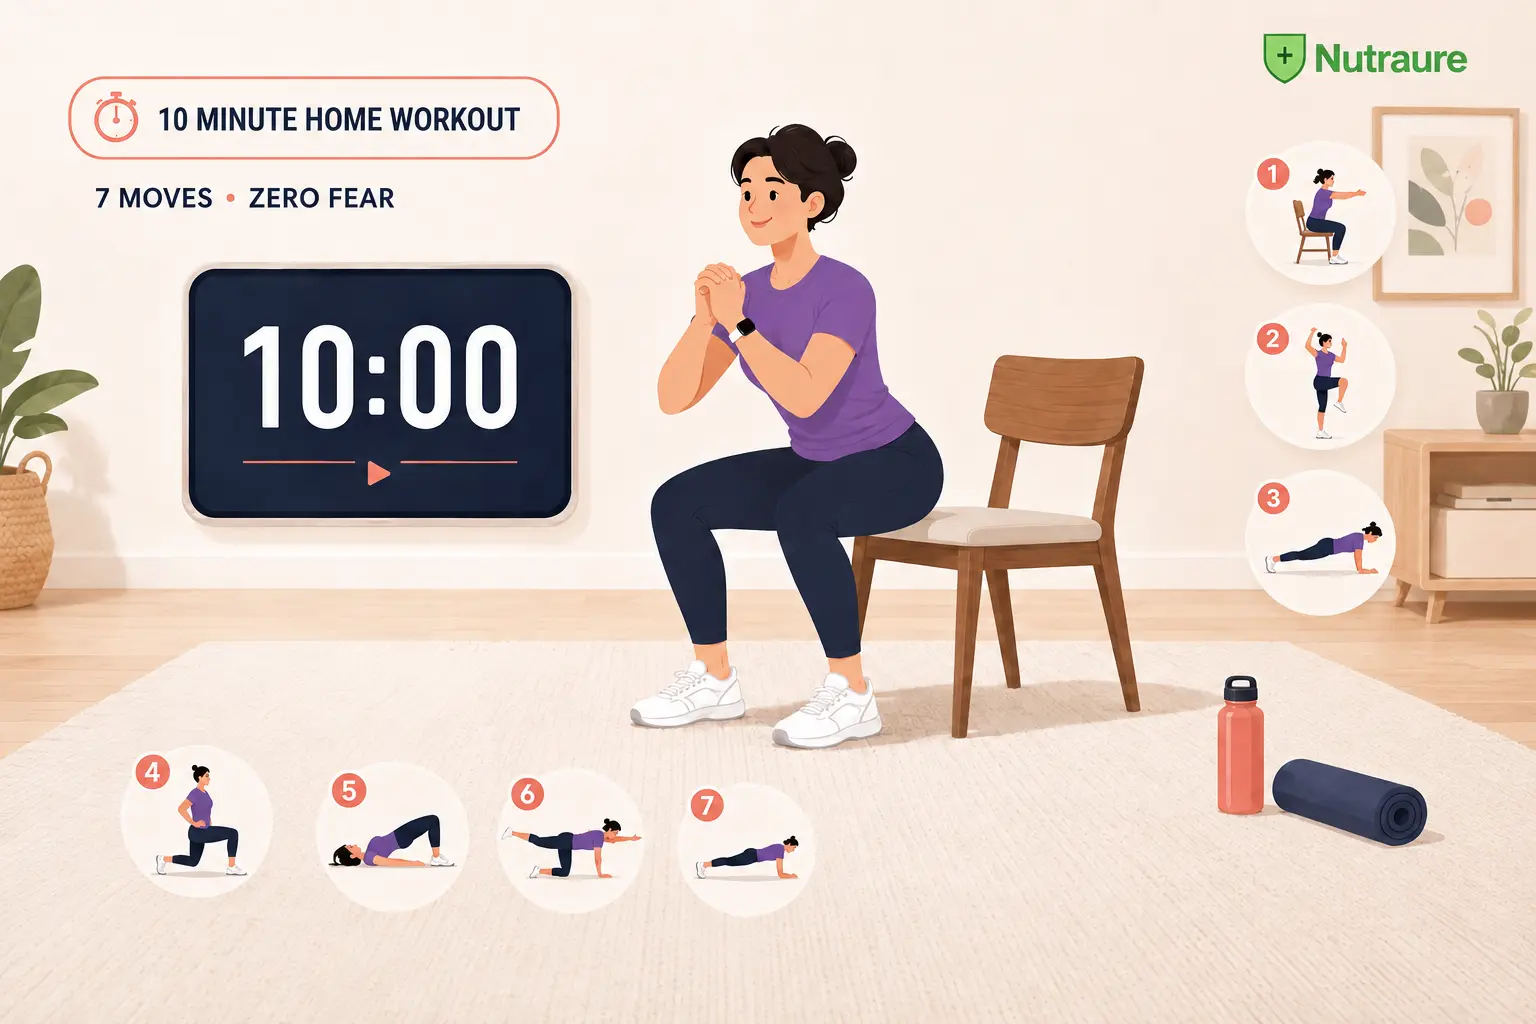
10 Minute Home Workout for Beginners: The 7 Moves
Now for the workout itself.
You’ll perform each exercise for up to 45 seconds, followed by 15 seconds of rest and transition.
Don’t feel pressured to move for the full 45 seconds during your first session. Ten or twenty controlled seconds followed by extra rest can be a perfectly reasonable starting point.
Several of these movement patterns—including chair squats and wall-supported push-up/plank variations—also appear in beginner home-workout material from the American Heart Association.
Move #1: Chair Squat — Legs and Glutes
A chair squat introduces one of the most useful basic movement patterns: sitting down and standing back up in a controlled manner.
How to do it
- Place a sturdy chair behind you.
- Stand with your feet hip-to-shoulder-widthapart.
- Keep your chest comfortably lifted.
- Push your hips gently backward as though you’re going to sit.
- Bend your knees and lower toward the chair.
- Lightly touch or sit on the chair if needed.
- Press through your feet and stand back up.
- Repeat at a comfortable pace.
Think:
“Sit back, then stand tall.”
Make it easier
Actually, sit down on the chair for a moment before standing again.
You can also place the chair near a wall or a stable surface if you need additional balance support.
Common mistake
Don’t treat depth as the goal.
A shallow, controlled squat you can repeat comfortably is more useful for a beginner than forcing yourself lower while losing control.
Move #2: Wall Push-Up — Chest, Arms, and Shoulders
If a floor push-up feels impossible, that’s not a problem.
Start at the wall.
Mayo Clinic specifically lists a wall push-up as a modified push-up option and describes maintaining abdominal control while bending and straightening the elbows.
How to do it
- Face a sturdy wall.
- Place your palms on the wall around shoulder height.
- Step your feet slightly backward.
- Keep your body in a comfortable straight line.
- Bend your elbows and slowly bring your chest toward the wall.
- Press through your hands to return to the starting position.
Keep the movement smooth rather than bouncing toward the wall.
Make it easier
Stand closer to the wall.
The more upright your body is, the easier the movement will generally feel.
Make it harder later
Move your feet farther from the wall.
Eventually, you might progress to using a stable countertop before trying lower surfaces or floor variations.
Common mistake
Try not to move only your head toward the wall while leaving your hips behind.
Think:
“My body moves as one unit.”
Move #3: Supported Reverse Lunge — Legs and Balance
Lunges can feel awkward when you’re new to exercise.
That’s exactly why we’re adding support.
How to do it
- Stand beside a sturdy chair or wall.
- Place one hand on the support.
- Step one foot backward.
- Bend both knees only as far as feels comfortable.
- Push through your front foot and return to a standing position.
- Alternate sides.
Move slowly enough that balance, not speed, controls the repetition.
Make it easier
Don’t lower into a full lunge.
Step one foot backward, tap the floor, and return to standing.
You can build the movement gradually.
Alternative
If stepping backward feels unstable, start in a split stance and perform a small supported up-and-down movement without moving your feet.
Common mistake
Trying to copy someone else’s lunge depth.
Your comfortable range is the right range to start with.
Move #4: Glute Bridge — Glutes and Core
Now you’ll move to the floor.
A glute bridge is a bodyweight movement commonly used to train the hips, while bodyweight exercises can be useful in home-based strength and movement training.
How to do it
- Lie on your back.
- Bend your knees.
- Keep both feet comfortably planted on the floor.
- Let your arms rest beside you.
- Gently tighten your midsection.
- Press through your feet and lift your hips.
- Pause briefly at a comfortable height.
- Lower back down under control.
You don’t need to lift as high as possible.
Make it easier
Use a smaller lifting range.
Even a modest, controlled hip lift lets you practice the pattern.
Common mistake
Don’t turn the exercise into an exaggerated arch in the lower back.
Think about lifting through the hips while keeping the movement comfortable and controlled.
Move #5: Bird Dog — Core, Back and Stability
Bird dog looks simple until you try to keep your body still while your arms and legs move.
That’s the challenge.
ACE includes bird-dog variations among bodyweight exercises used for stability and movement training.
How to do it
- Begin on your hands and knees.
- Place your hands beneath or near your shoulders.
- Keep your back in a comfortable neutral position.
- Slowly reach one arm forward.
- If comfortable, extend the opposite leg behind you.
- Pause briefly.
- Return to the starting position.
- Switch sides.
Imagine you’re trying to keep your torso as quiet as possible.
Make it easier
Move only one limb.
For example:
- Extend one arm and return;
- Then extend one leg and return.
You don’t have to coordinate the opposite arm and leg immediately.
Common mistake
Moving too far.
A small controlled reach is enough.
Move #6: Standing Knee Drive — Low-Impact Cardio and Core
After several controlled strength movements, it’s time to bring a little more rhythm into the circuit.
There’s no jumping required.
How to do it
- Stand tall with your feet comfortable.
- Lift one knee toward your torso.
- Lower the foot.
- Lift the opposite knee.
- Continue alternating.
Let your arms move naturally or bring the opposite hand gently toward the raised knee.
Make it easier
Turn the movement into a slow march.
Use a chair or wall for balance if necessary.
Make it harder later
Increase the pace slightly while keeping the movement controlled.
Remember the talk test: you don’t need to chase breathlessness for the exercise to count.
Common mistake
Rushing until your balance disappears.
Control first.
Speed comes later.
Move #7: Wall Plank — Full-Body Stability
You don’t have to start your fitness journey by shaking through a floor plank.
Use the wall.
The American Heart Association includes supported plank and push-up variations using stable elevated surfaces in beginner-oriented workout material.
How to do it
- Face a sturdy wall.
- Place your hands or forearms against it.
- Step your feet backward.
- Keep your body in a comfortable straight line.
- Gently brace your midsection.
- Keep breathing normally.
- Hold the position for as long as you can with good control.
Rest whenever needed.
Make it easier
Move your feet closer to the wall.
Make it harder later
Progress gradually:
Wall → high countertop → lower stable surface → floor
There’s no deadline for reaching the floor.
Common mistake
Holding your breath.
Strength exercises still require breathing. Mayo Clinic’s strength-training guidance specifically reminds beginners to breathe during resistance exercise.

How to Turn the 7 Exercises Into Exactly 10 Minutes
Here’s the complete timer.
First 90 seconds: gentle start
For this compact version, spend approximately 30 seconds on each:
0:00–0:30 — Easy marching
Walk gently in place.
0:30–1:00 — Shoulder rolls and arm movement
Roll your shoulders slowly and let your arms move through a comfortable range of motion.
1:00–1:30 — Easy hip and knee movement
Try shallow sit-backs, gentle knee lifts, or another comfortable movement.
Again, official warm-up recommendations are generally longer than this. Extend this section if your body needs more preparation.
The seven-minute circuit
| Time | Exercise |
|---|---|
| 1:30–2:15 | Chair Squat |
| 2:15–2:30 | Transition |
| 2:30–3:15 | Wall Push-Up |
| 3:15–3:30 | Transition |
| 3:30–4:15 | Supported Reverse Lunge |
| 4:15–4:30 | Transition |
| 4:30–5:15 | Glute Bridge |
| 5:15–5:30 | Transition |
| 5:30–6:15 | Bird Dog |
| 6:15–6:30 | Transition |
| 6:30–7:15 | Standing Knee Drive |
| 7:15–7:30 | Transition |
| 7:30–8:15 | Wall Plank |
| 8:15–8:30 | Transition to cool-down |
Final 90 seconds: ease down
Spend the final minute and a half gradually slowing down.
Try:
- gentle walking in place;
- relaxed shoulder movement;
- slower breathing;
- Comfortably stretching if it feels good.
The NHS describes cooling down as a way to gradually relax and slow your heart rate after exercise.
You can extend your cool-down beyond the ten-minute timer whenever you want.
Too Hard? Make Every Move Easier
A routine designed for beginners should actually be adjustable for beginners.
If one of these exercises feels too difficult, use this progression ladder before abandoning the whole workout.
Level 1: Reduce the range
You don’t have to squat deeply, take a large lunge, or lift your hips as high as possible.
Make the movement smaller.
Level 2: Slow down
Give yourself time to find your balance and position.
One controlled repetition can be more useful than several rushed ones.
Level 3: Add support
Use a wall, countertop, or sturdy chair when appropriate.
Support can help you concentrate on learning the movement instead of worrying about balance.
Level 4: Increase your rest
The timer is a guide.
If 45 seconds feels too long, try:
20 seconds moving + 40 seconds resting.
Or:
30 seconds moving + 30 seconds resting.
The routine still belongs to you.
Your first goal isn’t to “crush” the workout.
It’s to finish feeling capable of coming back to it.
How Often Should Beginners Do This 10-Minute Workout?
There isn’t one perfect weekly schedule for every beginner.
Your current fitness, health, other activities, and recovery all matter.
If you’re starting with very little structured exercise, one simple approach is to perform this routine on non-consecutive days and do lighter activity, such as comfortable walking, on other days.
For example:
| Day | Activity |
|---|---|
| Monday | 10-minute routine |
| Tuesday | Easy walk or comfortable movement |
| Wednesday | 10-minute routine |
| Thursday | Rest or easy activity |
| Friday | 10-minute routine |
| Saturday | Walk, recreation or mobility |
| Sunday | Rest or easy activity |
This is an example, not a medical prescription.
Current guidelines encourage adults to work toward a broader combination of weekly aerobic and muscle-strengthening activity.
When the workout starts feeling easy
Don’t immediately turn it into a race.
Make progress in stages.
Week 1: Learn
Concentrate on understanding the seven movements.
Forget about performing lots of repetitions.
Week 2: Control
Try to make each repetition smoother.
Notice your balance, breathing,g and body position.
Week 3: Build
If the exercises feel comfortable, you might gradually increase your range of motion or complete a few more controlled repetitions during each interval.
Week 4 and beyond: Progress
When a movement genuinely feels easy and well-controlled, try a slightly more challenging variation.
For example:
- chair squat → squat without touching the chair;
- wall push-up → lower elevated push-up;
- supported reverse lunge → lighter hand support;
- Basic bird dog → opposite arm and leg together;
- wall plank → countertop plank.
Progressive resistance is normally increased gradually rather than by sacrificing technique. Mayo Clinic likewise advises beginners to focus on correct form and increase resistance as exercises become easier.
What should you improve first?
Use this order:
- Form
- Control
- Comfortable range of motion
- Repetitions
- More challenging variation
Not speed.

5 Beginner Workout Mistakes That Make Exercise Harder
1. Moving too fast
Fast doesn’t automatically mean effective.
When you’re learning an exercise, moving more slowly gives you more time to understand what your body is doing.
2. Holding your breath
It’s surprisingly easy to do when you’re concentrating.
Keep breathing rather than bracing so hard that you unintentionally hold your breath.
3. Copying advanced versions
The person demonstrating a floor push-up online may have years of training behind them.
You don’t have to begin where they are.
Use the wall.
Use the chair.
Modify the movement.
4. Exercising through pain
Muscles working hard and sharp pain are not the same thing.
If an exercise causes pain, stop rather than trying to prove that you can finish the timer.
5. Expecting instant transformation
Fitness is built through repeated activity.
A single ten-minute session won’t transform your body, and it doesn’t need to.
Completing today’s routine gives you something more useful:
A workout you can potentially repeat.
How to Actually Stick With a 10-Minute Workout
You don’t need unlimited motivation.
Make starting easier.
Attach the workout to something you already do
For example:
- After your morning coffee;
- before your shower;
- After shutting down your work laptop;
- Before dinner.
The American Heart Association suggests making exercise part of a regular routine and recommends starting slowly when you’re beginning.
Track whether you showed up
Instead of recording calories burned or obsessing over repetitions, start with a simpler tracker:
Mon □ Tue □ Wed □ Thu □ Fri □ Sat □ Sun □
Tick the box whenever you intentionally move.
That’s it.
Keep the space easy to use
If possible, avoid turning preparation into a 20-minute project.
A chair, a wall, and enough clear floor space are all this routine needs.
The easier the routine is to begin, the fewer excuses you have to negotiate with.
Frequently Asked Questions
Is a 10 minute workout enough for a beginner?
A 10 minute home workout for beginners can be a useful starting point if a longer workout currently feels unrealistic. It gives you time to practice basic movements and build an exercise habit. However, ten minutes alone shouldn’t be confused with the full weekly activity recommendations for adults.
Can I do a 10-minute home workout every day?
That depends on the intensity, the exercises,s and how well you’re recovering.
Light movement can often be performed frequently, but harder strength sessions targeting the same muscle groups may require more recovery time. Mayo Clinic advises allowing recovery between strength sessions for the same muscle groups.
For a complete beginner, alternating this routine with walking or an easier activity is a reasonable option.
Can a beginner get fit with only 10 minutes a day?
Ten minutes a day can help you become more active, but “getting fit” is a broad goal.
Cardiovascular endurance, muscular strength, balance, mobility, and other aspects of fitness develop differently. Mayo Clinic describes a well-rounded fitness routine as including aerobic activity, strength, core work, balance,e and flexibility.
Use ten minutes as a starting point and gradually increase your activity as your fitness improves.
Do I need equipment for this beginner workout?
No gym equipment is required.
This 10-minute home workout for beginners requires no equipment and uses your body weight. A sturdy chair and a wall are optional supports, not exercise equipment.
Is this 10-minute workout good for weight loss?
Physical activity can be one part of weight management, but it would be misleading to promise a specific amount of weight loss from this routine.
Individual weight change depends on multiple factors, and the amount of physical activity required for weight management varies from person to person.
A better reason to begin this workout is to become more active and gradually improve your fitness.
What if I can’t do squats or lunges?
Don’t force them.
For the chair squat, try a smaller sit-back or practice standing up from a chair with support.
For the reverse lunge, start with a simple backward toe tap while holding a wall or chair.
If a movement causes pain rather than ordinary muscular effort, stop and choose an alternative.
Should beginners exercise before or after eating?
There isn’t one rule that suits everyone.
Your meal size, workout intensity, digestion, and personal comfort all matter. For a short beginner routine, avoid turning meal timing into another reason not to exercise.
If you have a health condition that affects blood sugar, digestion,n or exercise tolerance, follow advice from your healthcare professional rather than generic internet recommendations.
When should I make the workout harder?
Progress when the current version feels controlled rather than simply because a week has passed.
Useful signs include: Your form stays consistent;
- your form stays consistent;
- You can breathe comfortably;
- You no longer need as much extra rest;
- Your balance feels more secure;
- The current exercise variation feels noticeably easier.
Then change one thing at a time—a little more range, a few more repetitions, less support, or a slightly harder variation.
Your First 10 Minutes Matter More Than a Perfect Plan
You don’t need to become fit before you’re allowed to exercise.
That’sbackwards.
The beginner version exists because you’re a beginner.
Use the chair. Use the wall. Take the extra rest. Move slowly. Skip a repetition when you need to.
Your 10-minute home workout for beginners doesn’t need to look impressive from the outside to be worthwhile for you.
And don’t measure success by whether you’re exhausted at the end.
A much better question is:
Could I realistically do this again?
If the answer is yes, you’ve found a useful place to start.
Save the routine. Choose a few realistic days this week. Clear a small space at home.
Then start with Move #1.